Curls, you either have ‘em or don’t. If you’re like the half that doesn’t have curls but wish that you did and can’t for the life of you create those bouncy salon fresh curls, this blog is for you! Here’s how to create insta worthy curls with Muk.
Step 1 | Prepare Your Hair
Before you build a house, you must first lay the foundation. Curling your hair on freshly washed hair without any hair styling product just isn’t going to work. The results will be far better if you use a volumising or texturizing product, plus your curls will hold even better if your hair is a little dirty.
You see clean hair is slick and glossy. Think of it as a silky ribbon, if you tie a bow it will just slide undone. Dirty hair holds more natural oils which in turn helps to create texture for hold.
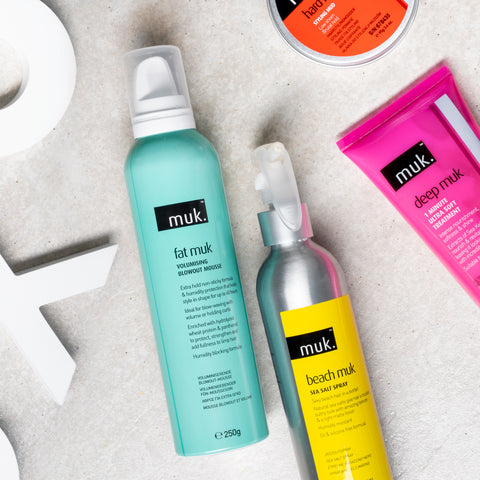
RECOMMENDED PRODUCT | Hot Muk 6 in 1 Working Spray or Fat Muk Volumising Blowout Mousse
Step 2 | Protect Your Hair
A firefighter would never go out on a call without their personal protection equipment, and you should never use a curling tool, hair dryer or hair straightener without first applying a thermal protection to your hair.
Just like the firefighter’s uniform acts as a barrier against harm, so too does heat protectant spray. A quick spray, spritz or dollop of heat protectant is worth that little extra time in order to shield the outside of your hair, locking in moisture and shine.
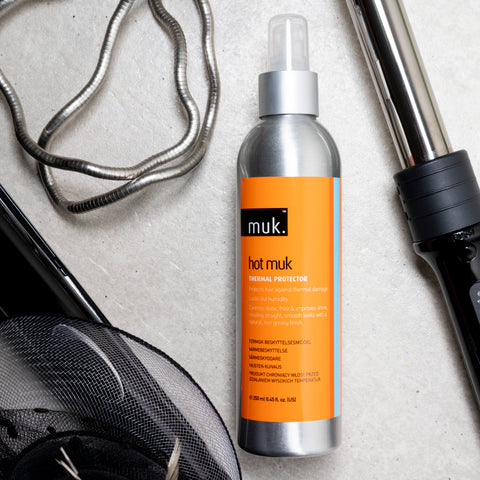
RECOMMENDED PRODUCT | Hot Muk Thermal Protector
Step 3 | Dry Your Hair
Have you ever tried to make bread from scratch? If the dough is “wet”, it won’t hold shape. The same is true when styling your hair. So before curling your hair make sure it’s completely dry.
Note that how you dry your hair can also create a different effect on the curl you’re trying to create. If you allow your hair to air dry, your curls will appear more natural, while blowing drying hair before curling will create voluminous curls. Drying methods help your curl stick to create the style you’re after.
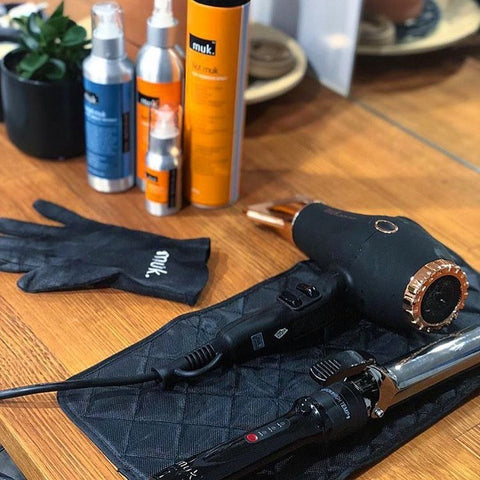
RECOMMENDED PRODUCT | Muk Blow 3900IR Hairdryer
Step 4 | Size Does Matter
You want curls, but what kind of curls? Big loose curls or small tight curls? The size of the barrel on your curl stick will determine the kind of curl you create. A large barrel will create big, soft curls while a smaller barrel will create small, tight ringlets.
Then there’s the difference between a straight barrel and a tapered barrel! A straight barrel will create uniformed sized curls, and is perfect for beachy waves, while a tapered barrel will create more natural looking curls.
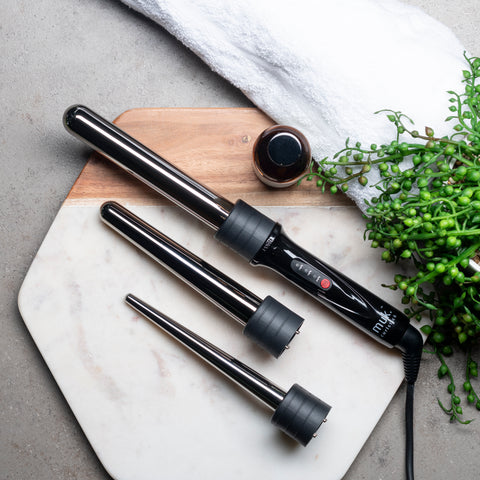
Soft curls, tight curls or spirals, the choice is yours with the Muk Curl Stick. With 3 interchangeable barrels, you can create the curl you want, from tight structured curls using the 9-19mm tapered barrel, to medium curls with movement with the 19-25mm tapered barrel or soft flowing bouncy curls with the 25mm straight barrel.
RECOMMENDED PRODUCT | Muk Curl Stick
Step 5 | Curls & Angles
Now while the size of the barrel determines the size of the curl the angle you curl your hair determines the type of curl you create. For bouncy curls, curl your curl stick horizontally, and for looser beachy waves curl your curl stick vertically.
So, if you want to achieve natural loose beach waves, use the 19-25mm tapered barrel, and curl your hair vertically on air dried hair. But if you’re after a large voluminous uniformed curl, first blow dry hair, and then using the 25mm straight barrel, curl your hair horizontally.
Lastly, curl from the roots down. You want the heat from your curl stick to penetrate the roots and the middle of your hair, rather than the ends. Curling from the ends will damage your hair and cause split ends.
Step 6 | Too Much Hair
Less is best! Grabbing great chunks and trying to curl them won’t work – heat won’t be able to get through the hair, and your curl will unfurl. Take your time and curl small sections, roughly 1 inch each.
Our top tip here is to allow your hair heat through thoroughly while it’s curled around your curl stick. Using your heat resistant styling gloved hand briefly hold the curl on the stick.
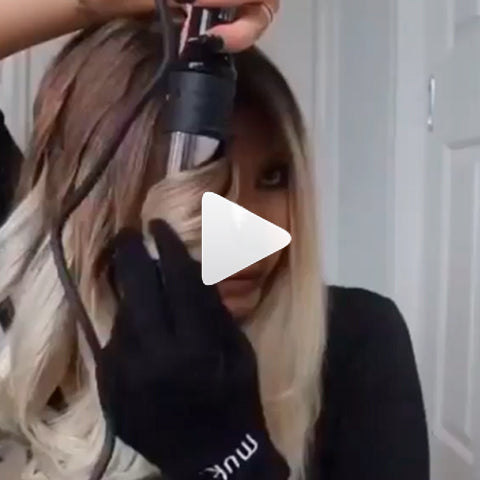
For maximum curl, then slide the curl gently from the stick and continue to hold the curl for 5 to 10 seconds longer and allow it to cool a little before letting go. Go one step even further and pin each curl up and allow them to cool fully and unpin after curling is complete.
Step 7 | Set & Spray
When baking a cake one of the final steps is to leave the cake to cool for 10 minutes before removing from the tin. This is to keep the cake structurally sound, otherwise the appearance and texture of the cake can alter drastically. Treat your curls the same.
For long-lasting curls allow your hair to cool before combing through, either with a wide tooth comb for firm looking curls or with a styling brush for fuller looking curls. Finish with hair oil to help with flyaways and keep your curls frizz-free. Lastly set with texture spray.
RECOMMENDED PRODUCT | Head Muk 20 in 1 Miracle Treat
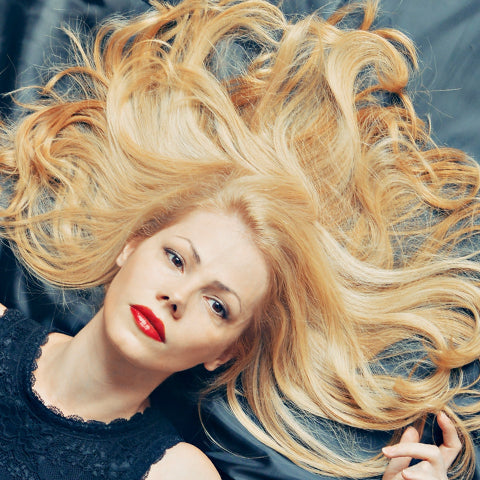
Like learning anything new or developing a skill, practice makes perfect, so don’t give up. Want more hair tips? Discover all our amazing hair tips in our dedicated blog, plus view our complete range of hair curling tools available both instore and online!
Share with us your curls using #priceattackhair and tag us @priceattackhair.

